Most Common Mounting/Dismounting Mistakes
Mounting and dismounting tires may look straightforward, but small errors can lead to big problems. Tire mounting mistakes can be especially problematic in the following use cases:
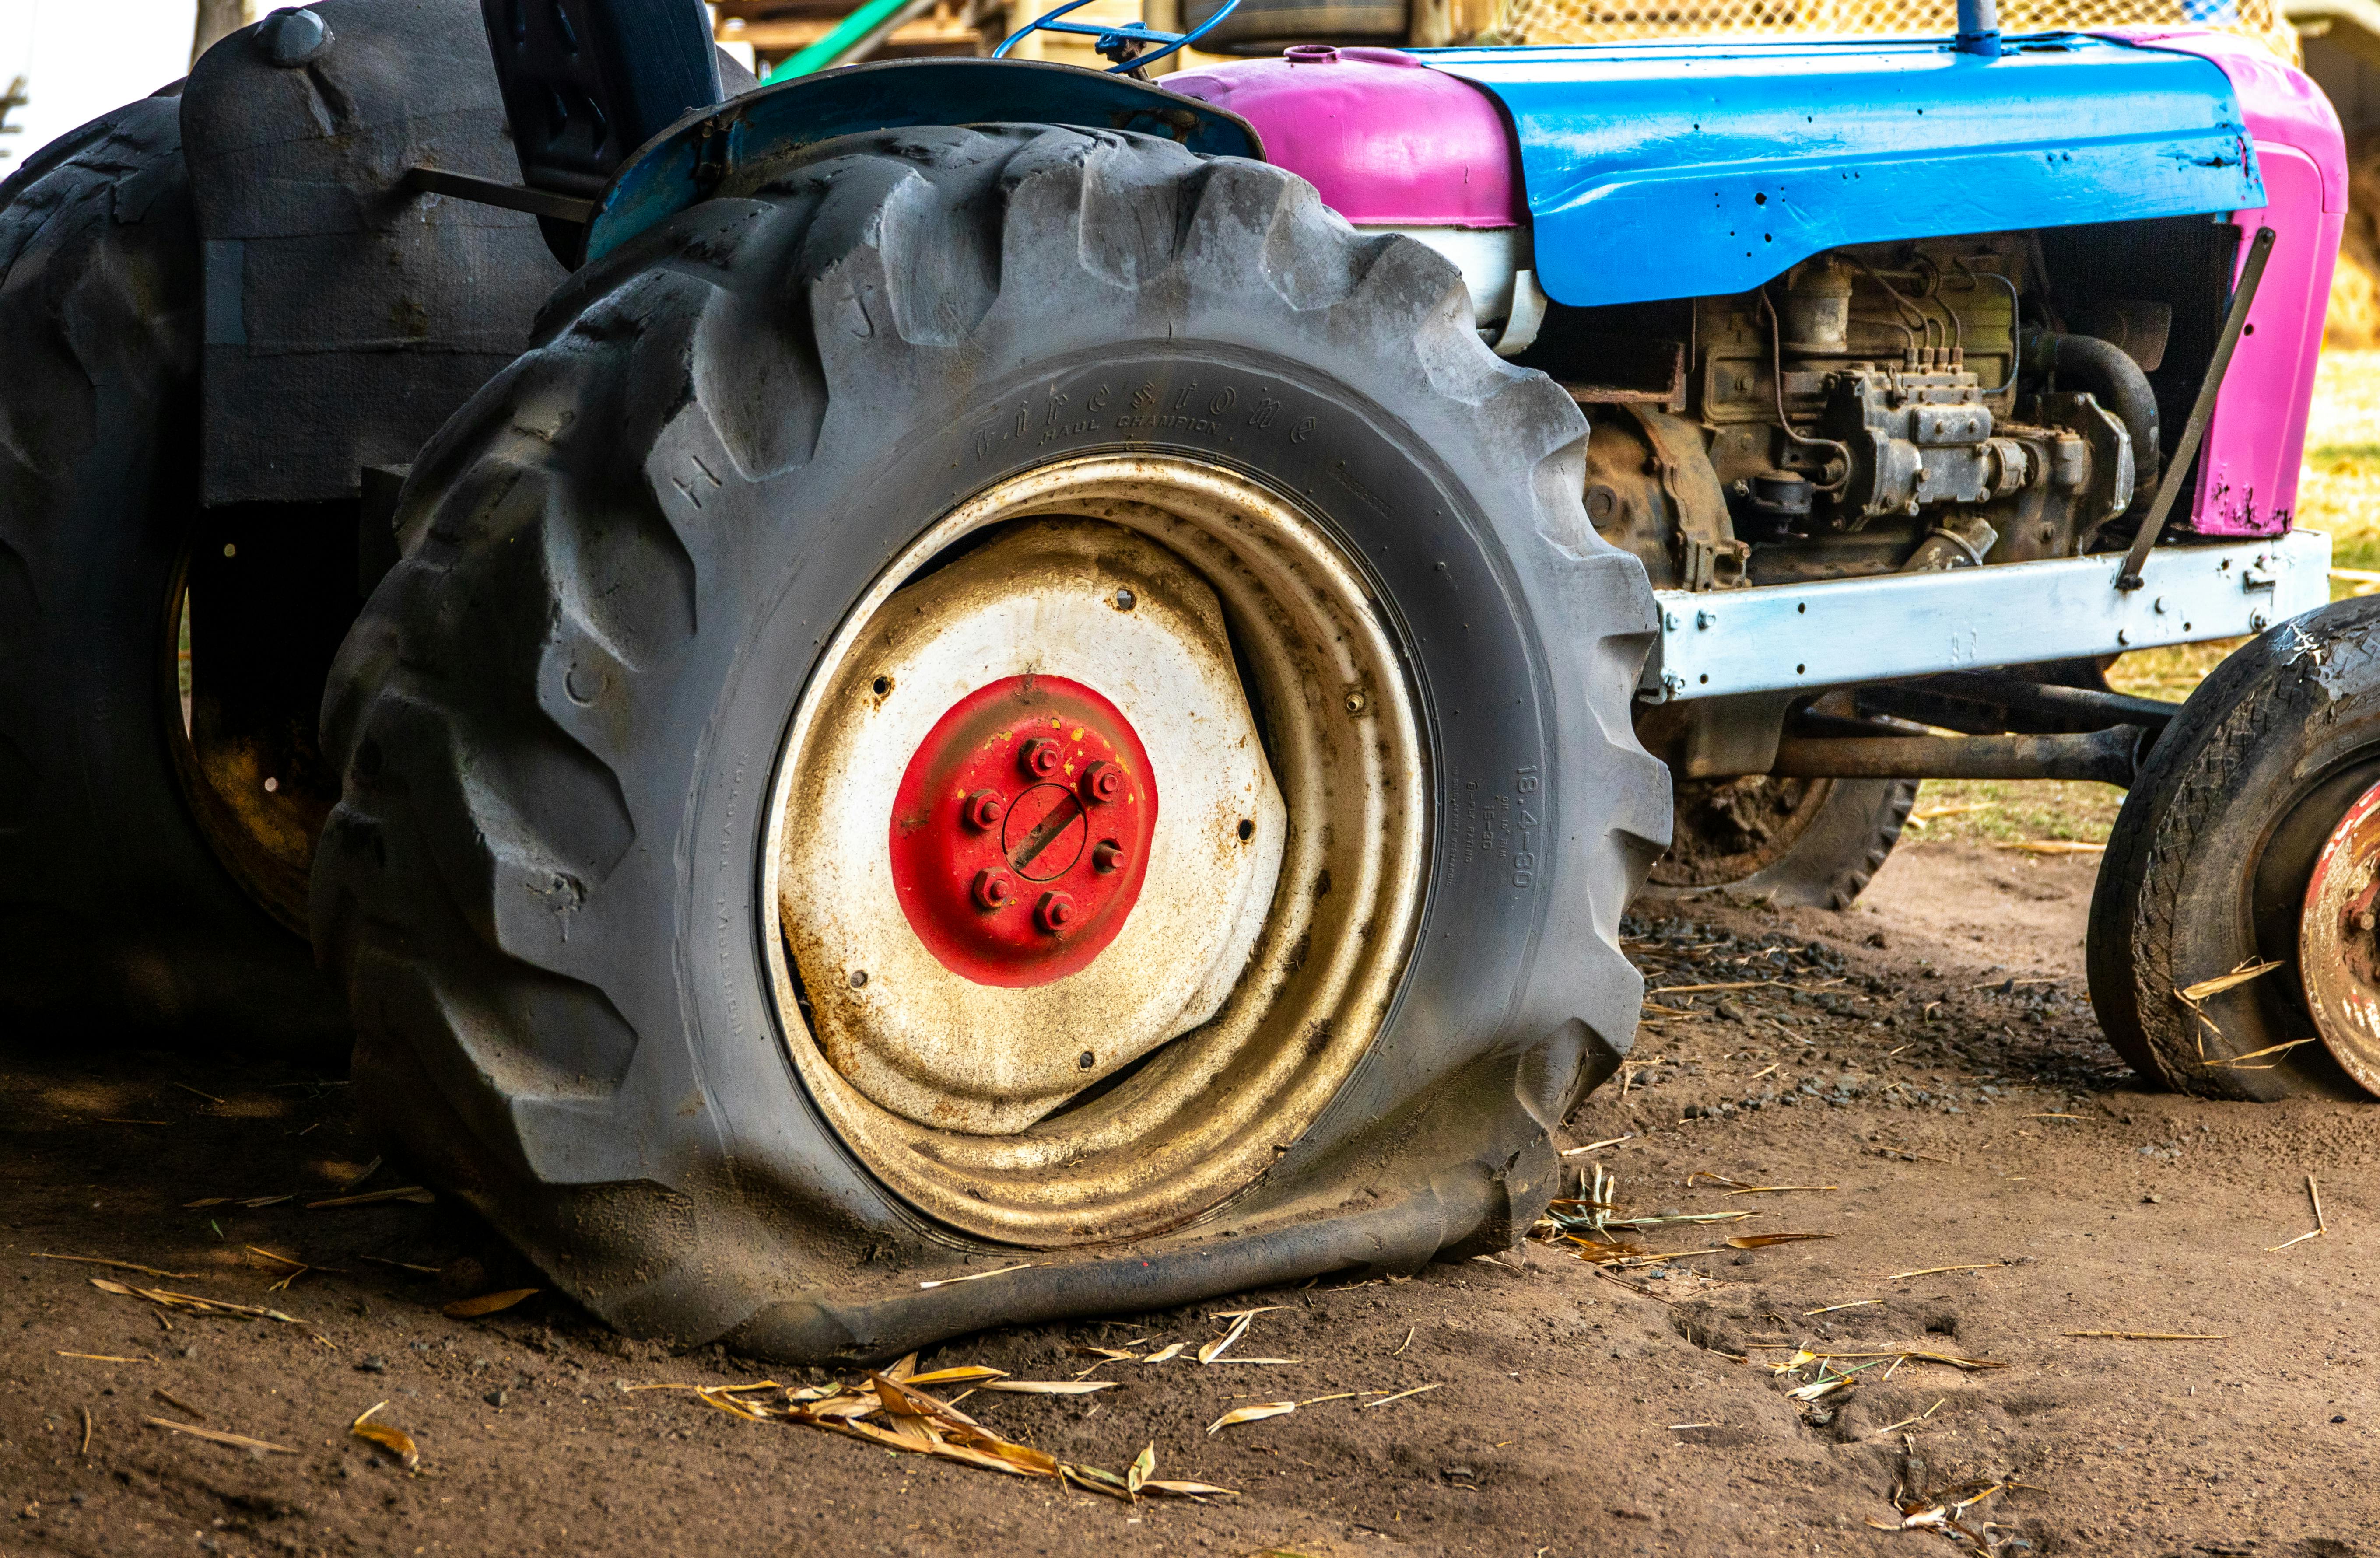
- Agriculture
- Construction
- Commercial trucking
- Turf equipment
Many issues happen because technicians rush the process or skip steps. Improper technique is another cause of tire mounting mistakes. The equipment itself is rarely to blame.
One of the most common tire mounting mistakes involves failing to properly inspect the tire and wheel assembly before starting. Dirt, rust, or leftover debris from a previous tire can keep the new one from seating properly. Bent rims are another big issue that technicians need to be aware of.
Using wrong or worn-out tools can also create headaches, as it increases the chances that they will damage the bead.
Here are a few more tire mounting mistakes that are more likely to happen in the field:
- Failing to properly lubricate the bead during mounting or dismounting
- Using too much force
- Applying uneven pressure
- Ignoring manufacturer specs
Techs under a time crunch may rush, trying to get the equipment back in service as quickly as possible.
While getting a tire mounted quickly looks good on paper, it can cause long-term efficiency and cost issues when tire mounting mistakes start to pile up. Don’t let a little time savings up front lead to premature tire failure later. It’s not worth it.
How These Mistakes Damage Tires
Tire mounting mistakes rarely cause failure right away. That’s a big reason why they are so costly and dangerous. The damage usually starts internally or along the bead. Tire mounting mistakes may show up weeks or months later in the form of:
- Slow air loss
- Uneven wear
- Sudden blowouts
Bead damage is one of the most common results of tire mounting mistakes. Technicians who use pry bars incorrectly or force the tire onto the rim can tear or stretch the bead. As a result, the tire will not create an airtight seal on the rim.
Sidewall damage is another major concern, especially for heavy-duty tires built to carry heavy loads. Even small cuts or abrasions can weaken the tire’s structure over time.
Common forms of damage caused by tire mounting mistakes and poor technique include:
- Torn beads that lead to frustrating air leaks
- Sidewall scuffing that reduces a tire’s load-carrying capacity
- Improper seating that causes vibration or uneven wear
These issues shorten tire life and increase the risk of downtime. If a blowout happens while your equipment is under heavy load, the results could be catastrophic and possibly result in liability issues as well.
The good news is that most tire mounting mistakes are preventable. It requires knowing the correct procedure, using the right equipment, and following established best practices.
Correct Mounting Best Practices
The mounting process starts long before the tire ever touches the rim. Taking a few extra minutes to prepare the wheel and follow best practices can dramatically extend tire life and improve performance in the field or on the road.
Begin by thoroughly cleaning and inspecting the wheel assembly. Remove any rust, dirt, or old lubricant and confirm that the rim is in good condition and free of any bends or chips.
Here are some best practices that should be followed when mounting tires:
- Apply lubricant evenly to both tire beads and rim flanges
- Use steady, even pressure
- Inflate the tire gradually and stay within the manufacturer’s recommended pressure limits
If you are working with larger agricultural or commercial tires, it’s especially important to verify that the bead is seated properly on both sides. Uneven mounting can lead to vibration or cause long-term structural damage that may not be visible right away.
On that note, it’s important to listen to feedback from equipment operators. If someone driving for you reports that a machine feels off or isn’t handling properly, listen to them. If they operate the equipment every day, they can often pick up on abnormalities.
Correct Dismounting Best Practices
How you remove tires is just as important as how you put them on. Many tires are damaged during removal because the bead is already under stress or partially bonded to the rim after months (or years) of use.
Before you get started, fully deflate the tire and verify that all air pressure is released. Attempting to break the bead on a partially inflated tire is extremely dangerous and can damage both the tire and the equipment.
Use proper bead-breaking tools that are designed for your specific tire size and application. This is especially important when dealing with tough agricultural or construction tires.
Here are some tips for effective dismounting:
- Break the bead evenly around the entire circumference of the rim
- Don’t use sharp or jagged tools that can cut the bead or sidewall
- Support the tire so that it doesn’t twist or collapse during removal
Patience is essential. Forcing the tire off the rim might save a few minutes now, but it can render it unusable. That cost can quickly add up, especially if you swap out your tires seasonally for different working conditions.
Trust Tires4That for Quality Tires
Using the right mounting and dismounting techniques will help maximize the life of your tires. However, correct technique is no replacement for quality. You need skilled technicians, the right equipment, and high-quality tires. That’s why working with a knowledgeable supplier is crucial.
Tires4That specializes in tires built for demanding applications. Our selection includes tires for ag equipment, semitrucks, construction machinery, and lawn and turf equipment. Additionally, our team knows how these tires are designed to be mounted, used, and serviced.
Do you need help selecting the right tires for your machinery or equipment? Our experts are here to help. Explore the huge inventory at Tires4That and place your order today.